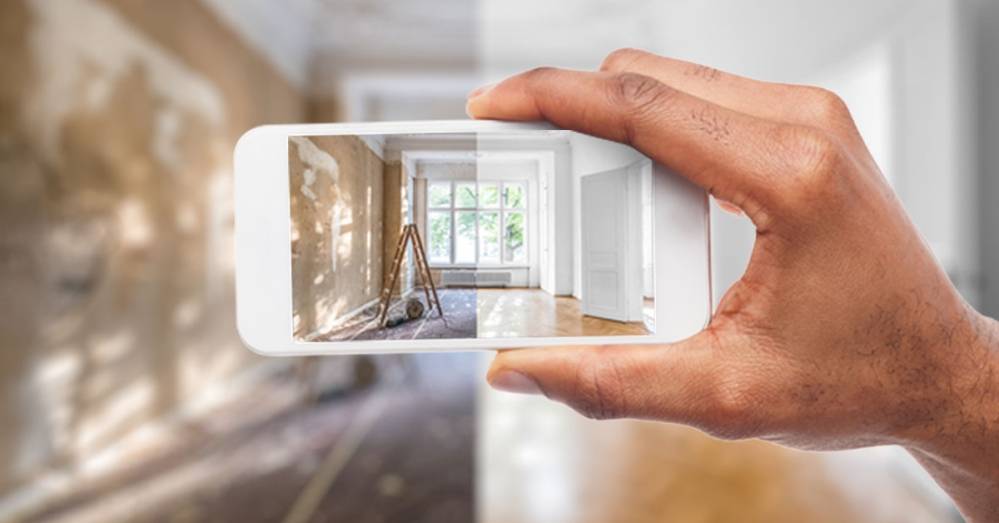
A picture is worth a thousand words — and two pictures could be worth thousands of dollars in new business. That is, they can if those pictures are well-done “Before” and “After” photos.
Nothing instantly shows the quality of your work like well-composed Before and After photos. Of course, bad photos could just as easily work against you.
If a prospect or customer comes to your website or social media page and sees an After photo that looks as bad or worse than the Before, it could cost you their business.
How To Do Before and After Pictures Like a Pro
Here are 7 simple tips to help you take picture-perfect before and after photos…
1) Go for the biggest “Wow!” – chose the story you want to tell
The most basic tip is still the most important — Before and After photos work best when they show the most dramatic change.
Sometimes that can be as simple as changing the paint color of a house… and sometimes it’s hardscaping an entire backyard. If you’re re-siding a home, find the view that shows the house best, whether that’s straight on or off to one side. If you’re redoing a kitchen, capture the image that shows off the changes you’ve made. And remember, you’re not limited to ONE image — make it part of your project routine to begin each job by taking a series of “Before” and “During” photos, then refer to those when taking your After photos.
[Related: How To Easily Create How-To Videos for Your Customers]
2) Location, location, location: take both photos, before and after, from the same spot
The closer you can get to exactly matching the two images, the easier it will be for consumers to instantly register the improvements you’ve made.
If possible, mark the spot where you’re standing when you take the Before photo. Even better, take a series of photos from a range of locations at different angles while keeping track and marking each spot.
Imagine you’re facing a clock — if you shoot photos from 3:00, 6:00, and 9:00, you can choose the most impactful Before and After images when the job is complete.
3) Get a grip – Use a tripod (they’re a whole lot cheaper than you think)
Simple tripods can be purchased on Amazon today for around $20 — in fact, the highest-rated tripod fitted for an iPhone is just $24 right now. It’s not a huge investment — but using one can make a huge difference in the quality of your photos.
You immediately increase the odds of getting level, more professional photos. Plus, it makes it easy to take your Before and After shots from the same spot (see #2 above).
When taking the Before shot, use tape, chalk, or spray paint to mark the points where the tripod legs sit — then, when the project is complete, simply set the tripod back on your marks for the After shot. Boom! Perfect.
[Related: How To Make the Right Marketing Investments]
4) Side-to-side, not top to bottom – take “landscape” (horizontal) photos, not "portrait" (vertical) photos
To a certain extent, you want to orient the photo to best show the work — but if you have a choice, “landscape” (horizontal) photos look better when posted on your website and shared on social media.
Most home improvement projects tend to lend themselves to a horizontal image. Also, many websites today include a “slider” (you might know it as a carousel) that makes your Before and After photos interactive, which helps draw people in.
If your website includes an image “slider,” or if you’re planning on sharing your photos on Facebook or Instagram (and you should!)… landscape photos will be much easier to work with.
[Related: What Makes a Good Local Business Website?]
5) Natural is better – use natural light, no flash, and take your “after” photo on a sunny day
When planning when to take your Before and After photos, you want to think about which shot will show your finished work in the best possible light… literally and figuratively.
Mornings and evenings tend to offer the most flattering light for exterior photos. Overcast is okay, but you want to be sure your photos are bright enough to show the details — bad (Before) and good (After).
6) “Wait, what’s that?” – be aware of the entire image – including the background
Be aware of EVERYTHING in your photo — people, cars, trucks, bikes, trash cans, signs, equipment, and anything else lying around.
A certain amount of clutter can help the negative feel of the Before photo (assuming you clean it up before the After photo), but you don’t want the clutter to distract from the overall change that you accomplished (the work you did).
Even if you think a little clutter is acceptable in the Before photo, the After photo has to be absolutely pristine. The background and surrounding areas have to be spotless, so the After photo draws the viewer's eyes to nothing but your incredibly great work.
7) Real… but better – use your phone’s built-in editing options
Don’t be afraid to use the built-in editing tools in your phone or camera. You can adjust the brightness, the contrast, the color/hue and more.
The better your After photo looks, the more it “pops” next to the Before photo, the greater the positive impression it’ll make… and the more likely it is to turn a shopper into a lead or even a customer.
[Related: 3 Ways To Personalize Your Small Business Marketing]
BONUS TIP — Sharing is caring: the best Before and After photo in the world can’t help you if no one sees it.
Be sure to share your photos – on your website, your Facebook Page and all your social media pages or feeds. Put those photos to work showcasing your work, promoting your business, and driving new leads.
The key to marketing your business online today is standing out from the crowd of competitors. You literally only have seconds to grab someone’s attention.
Eye-catching, interest-generating Before and After photos are an easy, incredibly effective way to do just that. And all you need is the camera you almost certainly have on the phone in your pocket.
All the tips above can help as far as HOW to take better Before and After photos, but really, the most important tip of all is just to take them and post them.